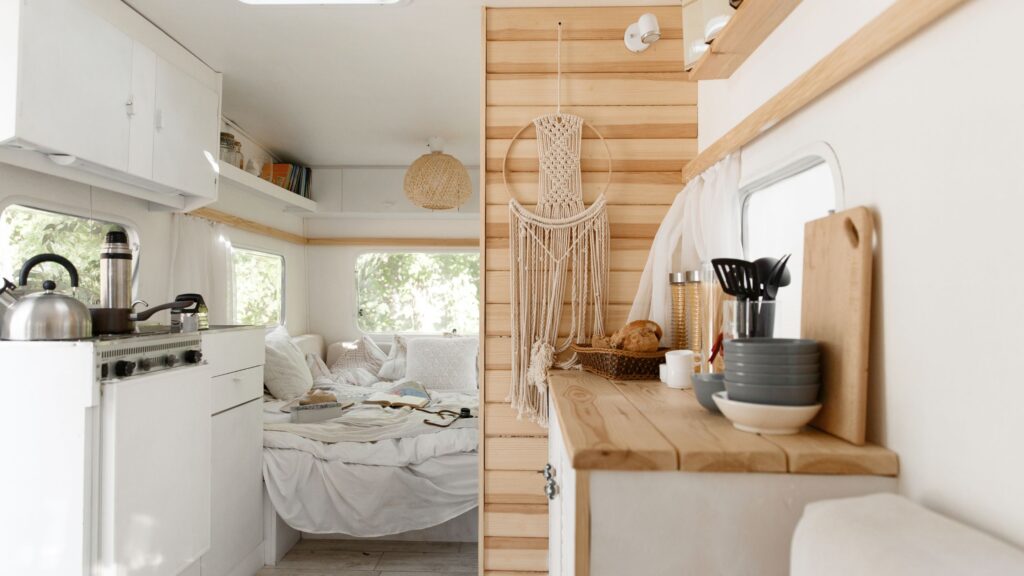
If you’re considering a new toilet for your camper van, consider a composting toilet! Composting toilets have been around for thousands of years, but they are having a moment right now with van lifers, sailors, and other minimalist folks who live in the modern tiny house world.
If you’re unsure whether a composting toilet is right for your camper, this article will lay out what they are, how they work, why they’re desirable (sometimes more so than other options), and the most popular composting toilet options available on the market. We’ll even tell you how to DIY your own (yes, you can do that!)
Table of Contents
What is a Composting Toilet?
A composting toilet uses no water and doesn’t flush. Instead, it treats human waste by the natural decomposition process called “composting.” Composting is the process by which organic matter decomposes into nutrient-rich soil or soil additives.
How They Work
A composting toilet has two separate compartments – one for solid waste and a liquid waste container. It is by separating the solid waste from the liquid waste that the decomposition process can take place. The solid waste container is filled with a drying material like coconut coir or peat moss. This dries out the waste and starts the decomposition. You can also add enzymes to the tank to speed up the process.
The solids container is vented with a vent hose to the outside and typically also uses a fan to draw air and moisture (and smell) out of the tank. There is also a handle on the side to turn the waste over inside the container so that the waste can be oxygenated.
The solids tank only needs to be emptied every month or so – in fact, the longer you leave it, the more composted the waste will be. If you aren’t using it, you can leave your composting toilet full for up to six months without issue – the waste will simply continue to decompose.
Comparison to a Traditional Toilet
Many people mistakenly believe that composting toilets are smelly, gross, or unhygienic. That is simply not true! What creates a bad smell in toilets is sewage. Sewage is the combination of liquid and solid waste. Once the solid waste and liquid waste have been separated, there is no sewage smell to the waste at all.
Not only that, an RV composting toilet uses less water, is easier to maintain, and has no complicated pumps, seals, pipes, vacuums, or other parts to break.
Why Composting Toilets are Desirable for Van Life
A composting toilet might be intimidating to some, or you might wonder why you would opt for one in such a small space. Well, there are a lot of reasons that more and more people are opting for these eco-friendly contraptions!
Space Saving Design
A composting toilet has a very simple, compact design. The whole thing is completely self-contained to the throne area. There are no hoses, pumps, or grey water and black water tanks to install. This means those areas that are typically used to house waste tanks and hoses can be used for other purposes.
Reduced Water Usage
Flushing the toilet takes quite a bit of water. If you are someone who spends a lot of time off-grid, you are probably very attuned to your water usage. Imagine saving all the water you typically use for flushing the toilet.
Waste Disposal
Disposing of the waste from a composting toilet is very easy. The liquid container can be removed and dumped out as often as necessary – in the forest, on the side of the road, even down a traditional toilet, if you have access to one via public restrooms or somewhere similar.
The solids bin can be emptied into a garbage bag once it is full of “compost” and put into any regular trash can or dumpster. If this freaks you out, remember that the compost just smells like dirt, and people throw away baby diapers full of pure poo in the garbage all the time.
Freedom
A composting toilet gives you the freedom to camp anywhere. You don’t need to worry about having access to dumping stations or water hookups. Camping in off-grid or very remote areas becomes much easier and more accessible.
Popular Composting Toilets for Van Life
Let’s take a look at some of the most popular composting toilet options for van conversions and RV life.
Nature's Head
This is certainly the most well-known name in composting toilets. It has a comfortable toilet seat and one of the largest solid waste containers and urine containers of any toilet on the market. It is easy to install and about the same size as a regular toilet.
The Nature’s Head runs around $925.
Pros
- Well-known company with great customer service
- Large waste tank capacity
Cons
- On the pricey end
Air Head
The Airhead is similar to the Nature’s Head composting toilet but comes at a slightly higher price point. In fact, it is the most expensive composting toilet on the market. The pee bottle is quite small, but you can buy a larger replacement for it.
The Airhead can be purchased for about $1100.
Pros
- Made with the highest-quality materials
Cons
- Expensive
- Small tank size, especially liquid capacity
Compo Closet's Cuddy
The Cuddy is a compact composting toilet that is also portable. It has an internal fan and removes easily from the van for dumping. Great for those with limited space. It has an agitator to help with the composting process and you have the option of venting it outside, although venting is not required.
The Cuddy can be picked up for $780.
Pros
- Compact and portable
- Cheaper than alternatives
Cons
- Toilet seat doesn’t feel like a regular toilet
- If you opt for not venting it, you may have challenges with moisture build-up
Trelino
Trelino makes a range of composting toilet options that are somewhat more stylish than the other composting toilets around. Their flagship model is the Origin, which looks similar to the Cuddy, but with a nice wood toilet seat and is available in a range of colors. There is no agitator, so you add compost material after every “solid deposit” and have to empty it more often than a traditional composting toilet.
The Origin L (large) costs $665.
Pros
- More aesthetically pleasing than other options
- Cheapest option on the list
Cons
- Smaller than other models
- No agitator
The Throne Urine Diverter w/ DIY Composting Toilet Instructions
This composting toilet urine diverter is intended to help you build your own toilet, which is a great option if the other toilets on this list are out of your budget. The diverter attaches to a bucket toilet base and diverts urine into a separate urine tank. It comes with instructions for how to build your own composting toilet and costs just $95.
Pros
- Most inexpensive option
Cons
- You have to build your own toilet
Making Your Own Composting Toilet
It’s easier than you think to build your own camper van composting toilet. At their core, most composting toilets are simply a bucket with a way to keep the solid waste and liquid waste separate. Let’s take a look at what it takes to build your own.
Materials
- 5-gallon Bucket
- 3.5-liter plastic bottle or pot
- Toilet seat
- Urine diverter
- Crank handle/mulch turner
- 12mm Plywood
- 6 metal brackets
- 2 metal hinges (optional)
- Nice wood to finish it (optional)
Process
First, decide where you want to install your toilet. Measure the space first to determine the size of the bucket needed. A 5-gallon bucket works well.
Once you have the space, build a box to house the bucket. Measure and cut six pieces of plywood for the top, bottom, and four sides of the box.
In the plywood that will go on top, cut a hole for the waste to fall through. You can use the toilet seat as a guide: set it on the plywood, open the lid, trace around the inside, and then cut out the hole.
Screw the four metal brackets to the floor around the bucket. These will hold the bucket in place. DO NOT screw through the sides of the bucket to attach the brackets. Simply set the bucket in the brackets. This is your solids container.
Set the plastic bottle in front of the bucket and screw two more metal brackets in front of it to hold it in place. This is your liquids container.
Screw the plywood box together around the bucket, lining up the hole with the top of the bucket. Screw the lid to the top plank. The top plank should be loose so it can be lifted to remove the bucket. You can attach the back edge of the top plank to the top edge of the back plank with hinges so it lifts open, or just leave it loose.
Follow the instructions to attach the urine diverter under the seat and ensure the pee funnels into the liquid tank.
Optionally, cover the plywood with nice wood for a pleasing finish.
Composting Toilet Accessories and Considerations
Once you have decided on your composting toilet, there are a few other things to consider.
Ventilation and Odor Control
Odor is very minimal with a composting toilet – it is unlikely you will smell anything at all, except for immediately after using it, and this dissipates very quickly. However, to keep odor at bay, the toilet needs to be properly vented and a small fan needs to be working.
Compostable Toilet Paper and Bags
It is not necessary to use compostable toilet paper in your composting toilet, but if you want to, it certainly doesn’t hurt. Some prefer to keep any TP completely out of the solids bin.
You may also want to use a compostable bag to dispose of the waste instead of a trash bag. Again, this isn’t necessary, but it is a nice, eco-friendly thing to do.

Additives
Enzymes can be added to the solid waste tank to speed up the composting process. Many composting toilets come with one packet of enzymes, and more can be ordered from the company websites. Enzymes are not necessary, but they can be helpful.
Another addition you may want to make to your head if you live in a humid, warm, or tropical place, is diatomaceous earth. Flies can sometimes be an issue in warm climates. Diatomaceous earth creates a habitat that fly larvae can’t survive in. If you find you have problems with flies in your toilet, add a quarter cup of diatomaceous earth to the coconut coir when you mix it.
Compost Disposal
Never dump your “compost” out in nature, thinking it will just continue to decompose. Composting human waste takes a very long time, and although the “compost” in your solids bin may seem harmless, it’s actually not completely composted.
The compost from your solids bin should be bagged and thrown into a dumpster for disposal. If you are in an area that is remote and has soft ground, you can dig a deep hole and bury your compost, but this isn’t recommended.
Ideally, you would add your “compost” to an actual compost pile or composting facility so it can continue to break down, turning back into pure dirt. Obviously, this isn’t always possible, but if you’re a part-time traveler and have your own compost area at home, this could be a convenient option for disposal.
Conclusion
A compost toilet makes a great alternative to a chemical toilet, cassette toilet, or other types of camper van toilets. They are more environmentally friendly, use no water, have no smell, and require almost zero maintenance.
If you are a van lifer or RV enthusiast who wants to live more sustainably and with less toilet hassle, consider a composting toilet for your next campervan toilet.
SHARE THIS POST